

It’s been awhile! If you’re missing my posts, know that I am still blogging weekly at AliMillerRD.com, sharing Food as Medicine insights and recipes such as this awesome Stone Fruit Crisp and this Watermelon, Cucumber and Feta Salad. My food brain is still very much alive and I am in the kitchen more than ever these days!
One of my favorite things to do since becoming an omnivore about a year ago is to wrap things in prosciutto. Literally, all things. Prosciutto was one of my first non-vegan indulgences and remains a favorite, a close second to really good smoked brisket. One of my other favorite things to do is to stuff delicious things with other delicious things, like this Blue Cheese, Fig + Swiss Chard Stuffed Pork Loin I did awhile back and also like dates stuffed with goat cheese wrapped in bacon. Oh, and there’s goat cheese involved here too, did I mention that?
This recipe combines both stuffing and wrapping, and is therefore, perfection. I have been making and freezing tons of pesto this summer and am fairly certain that this dish is my favorite use of pesto. This dish is a fun dinner party trick to make your guests think you slaved in the kitchen all day. Make the pesto as far ahead as 3 days and freeze the extra in ice cube trays for later use.
For the pesto:
2 cups fresh basil
4 cloves garlic
juice of 1 lemon
3/4 cup Parmesan cheese, freshly grated
1 cup pine nuts
1/2 cup extra-virgin olive oil
salt and pepper to taste
For the chicken:
4 chicken breasts
4 oz goat cheese
salt and pepper
8-12 slices prosciutto
Directions:
Make the pesto. In a food processor, combine basil through pine nuts. Pulse until finely chopped. With the food processor running, slowly stream in the olive oil. Add salt and pepper to taste.
Preheat the oven to 375.
Overlap 2 slices of prosciutto so that it forms a square. Place a chicken breast on one end of the prosciutto square. Using a sharp knife create a slit in one side of the chicken breast. Spoon a tablespoon of pesto into the slit and add about a tablespoon of goat cheese and pull the slit closed. Sprinkle the chicken with salt and pepper on both sides.
Wrap the prosciutto around the chicken breast and place seam side down on a baking sheet. Repeat for the rest of the chicken breasts. Bake until internal temperature reaches 165 degrees and golden brown on the top– about 20 minutes. Allow to rest for 5 minutes before serving. To serve the chicken, slice in half and top with more pesto.


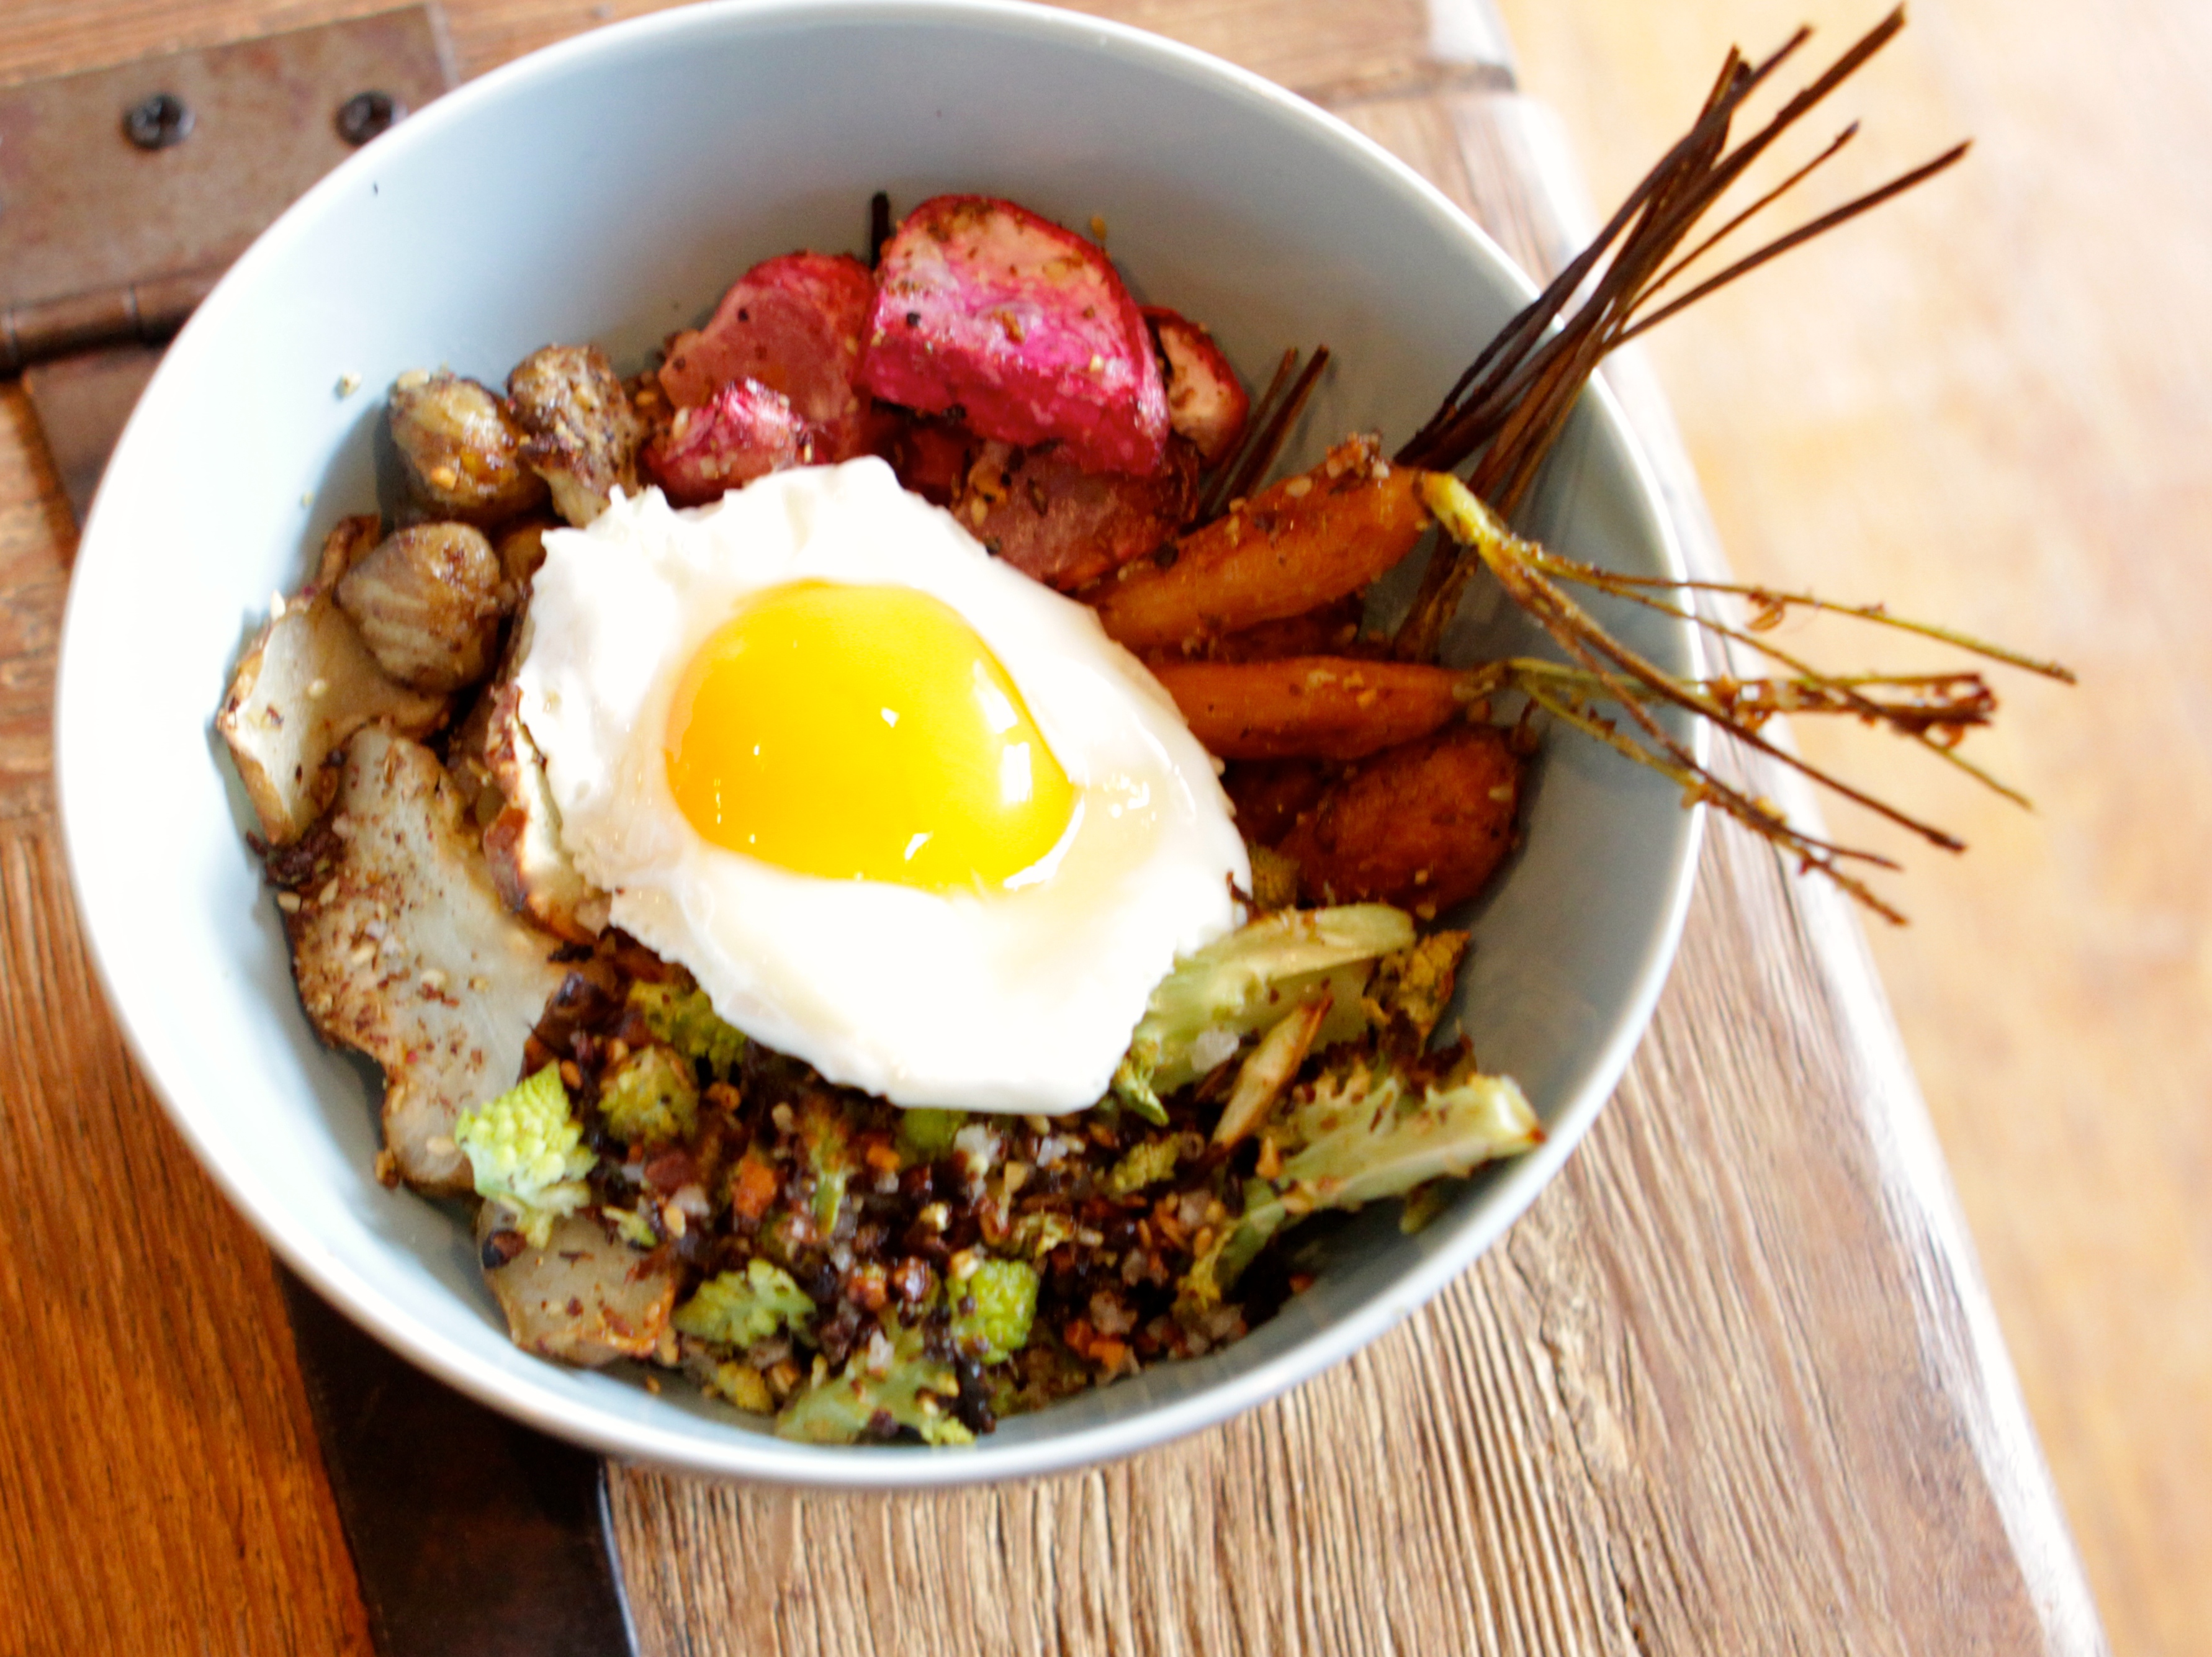
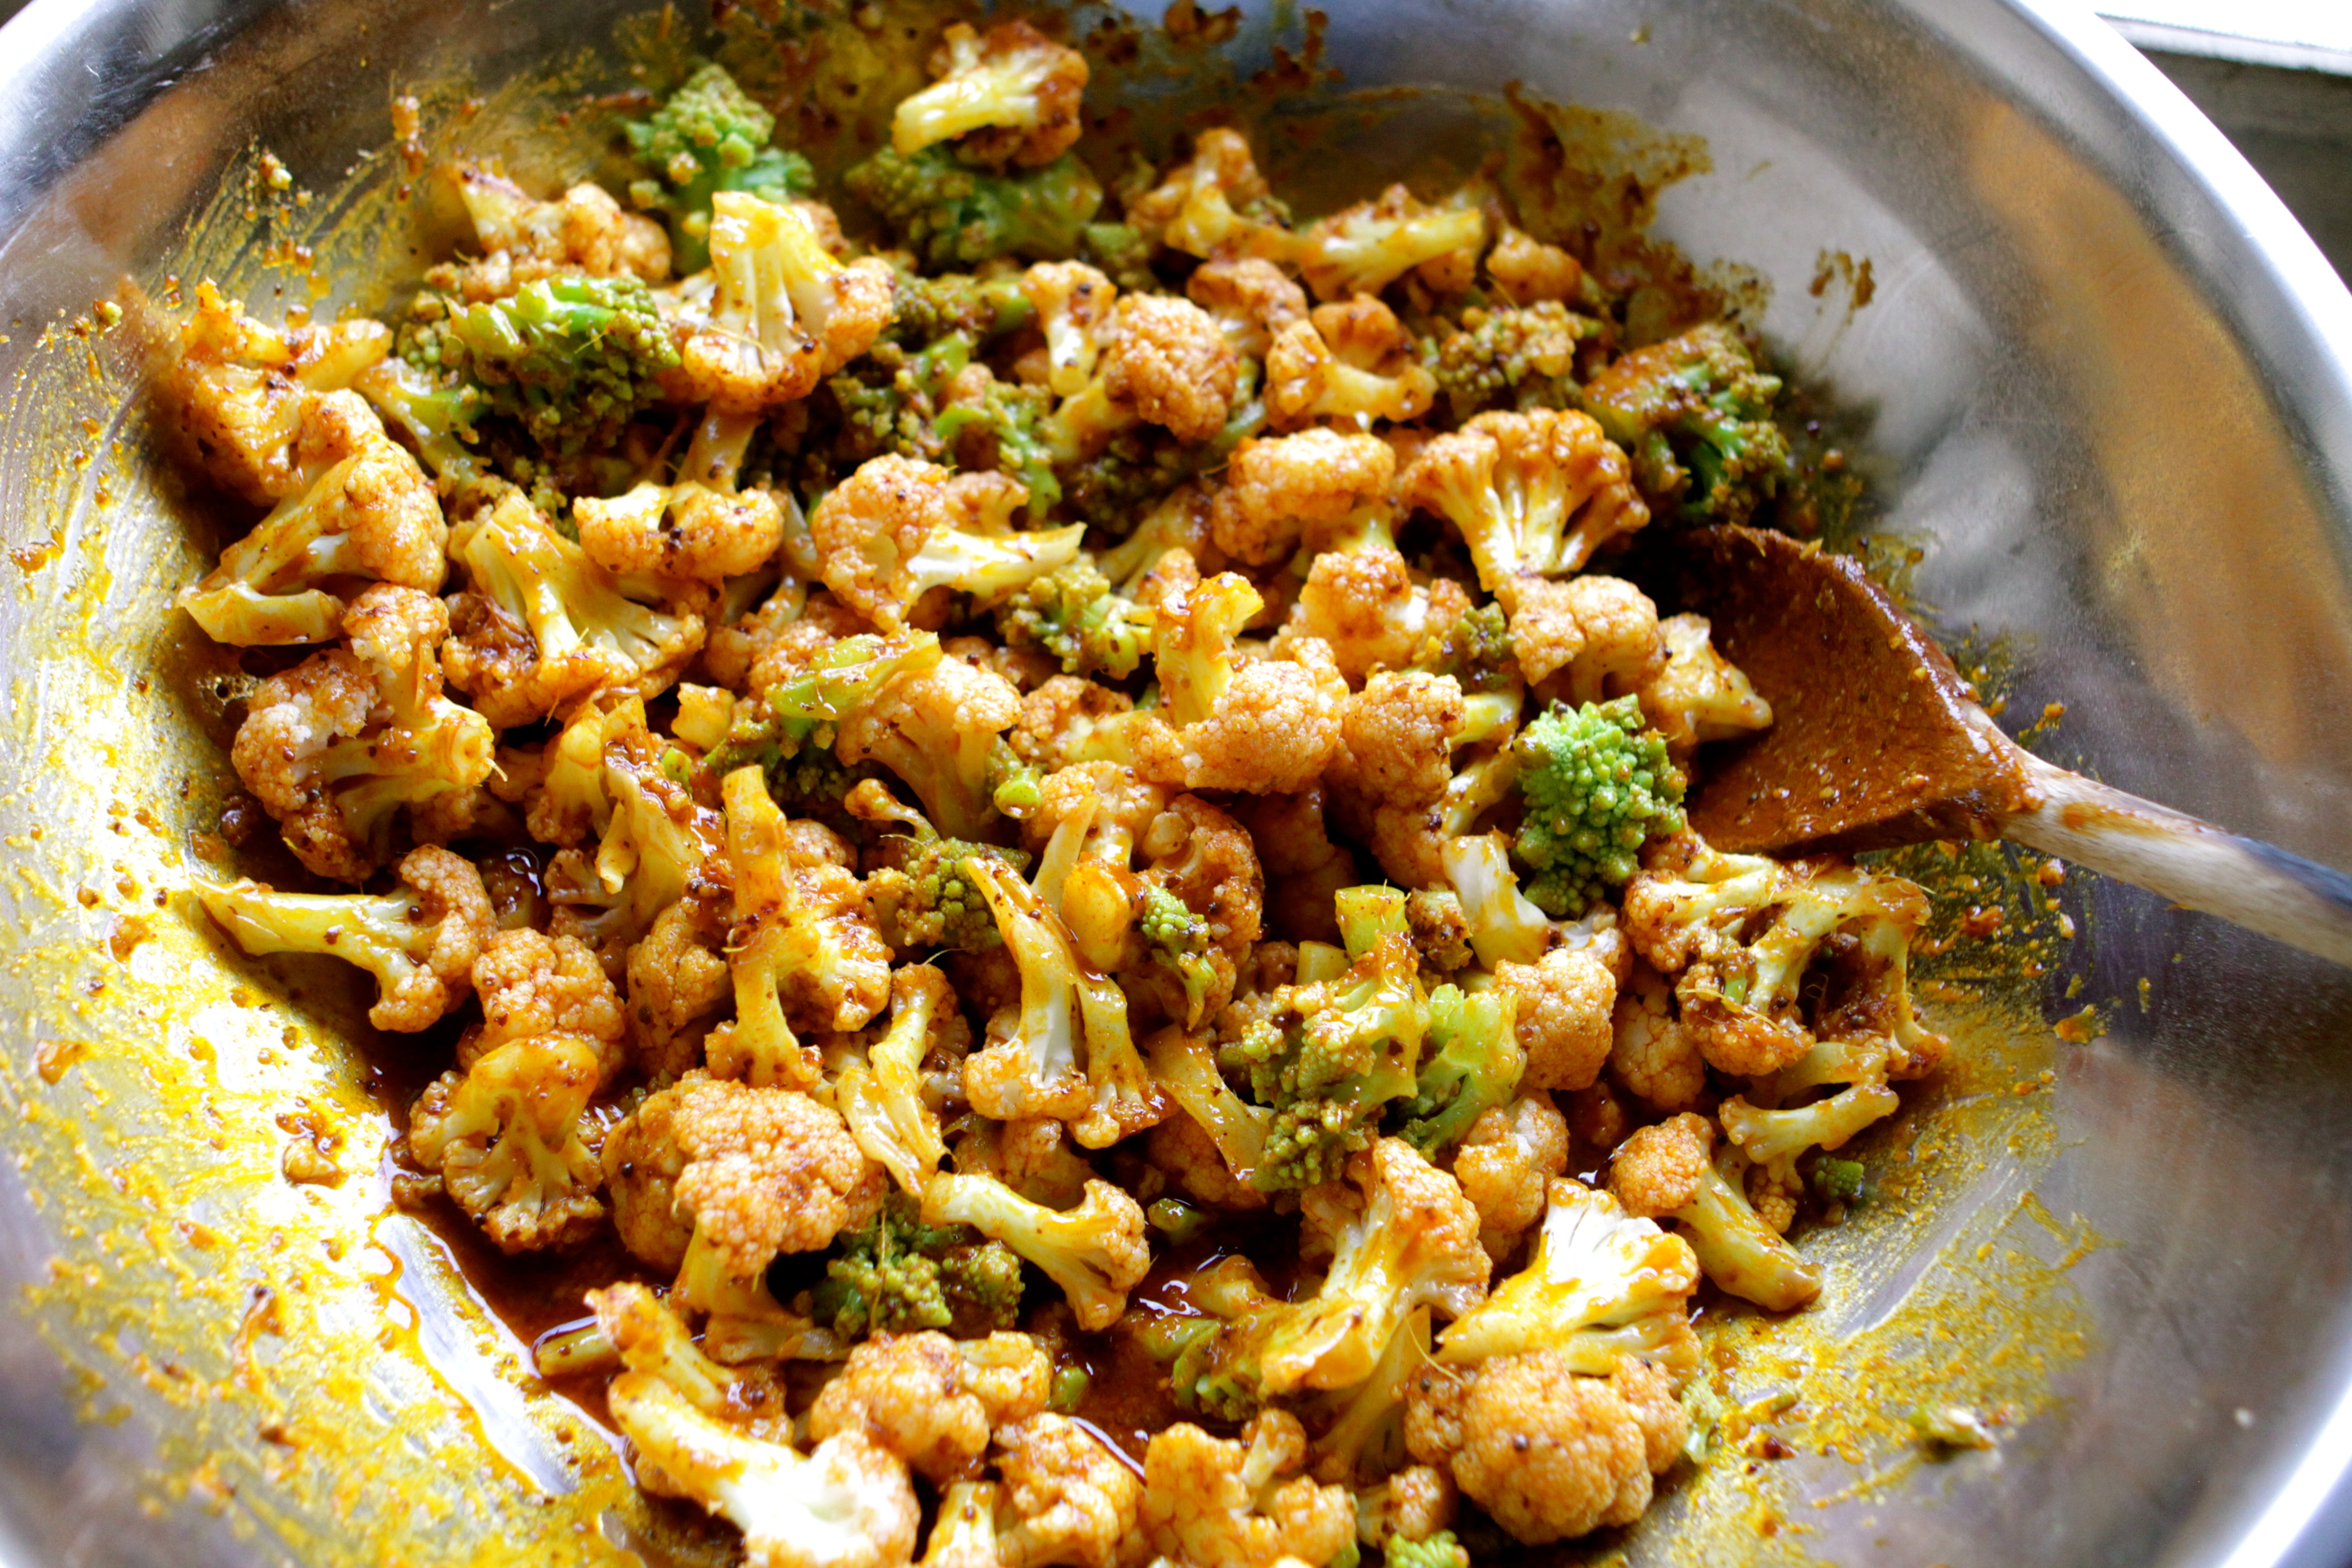
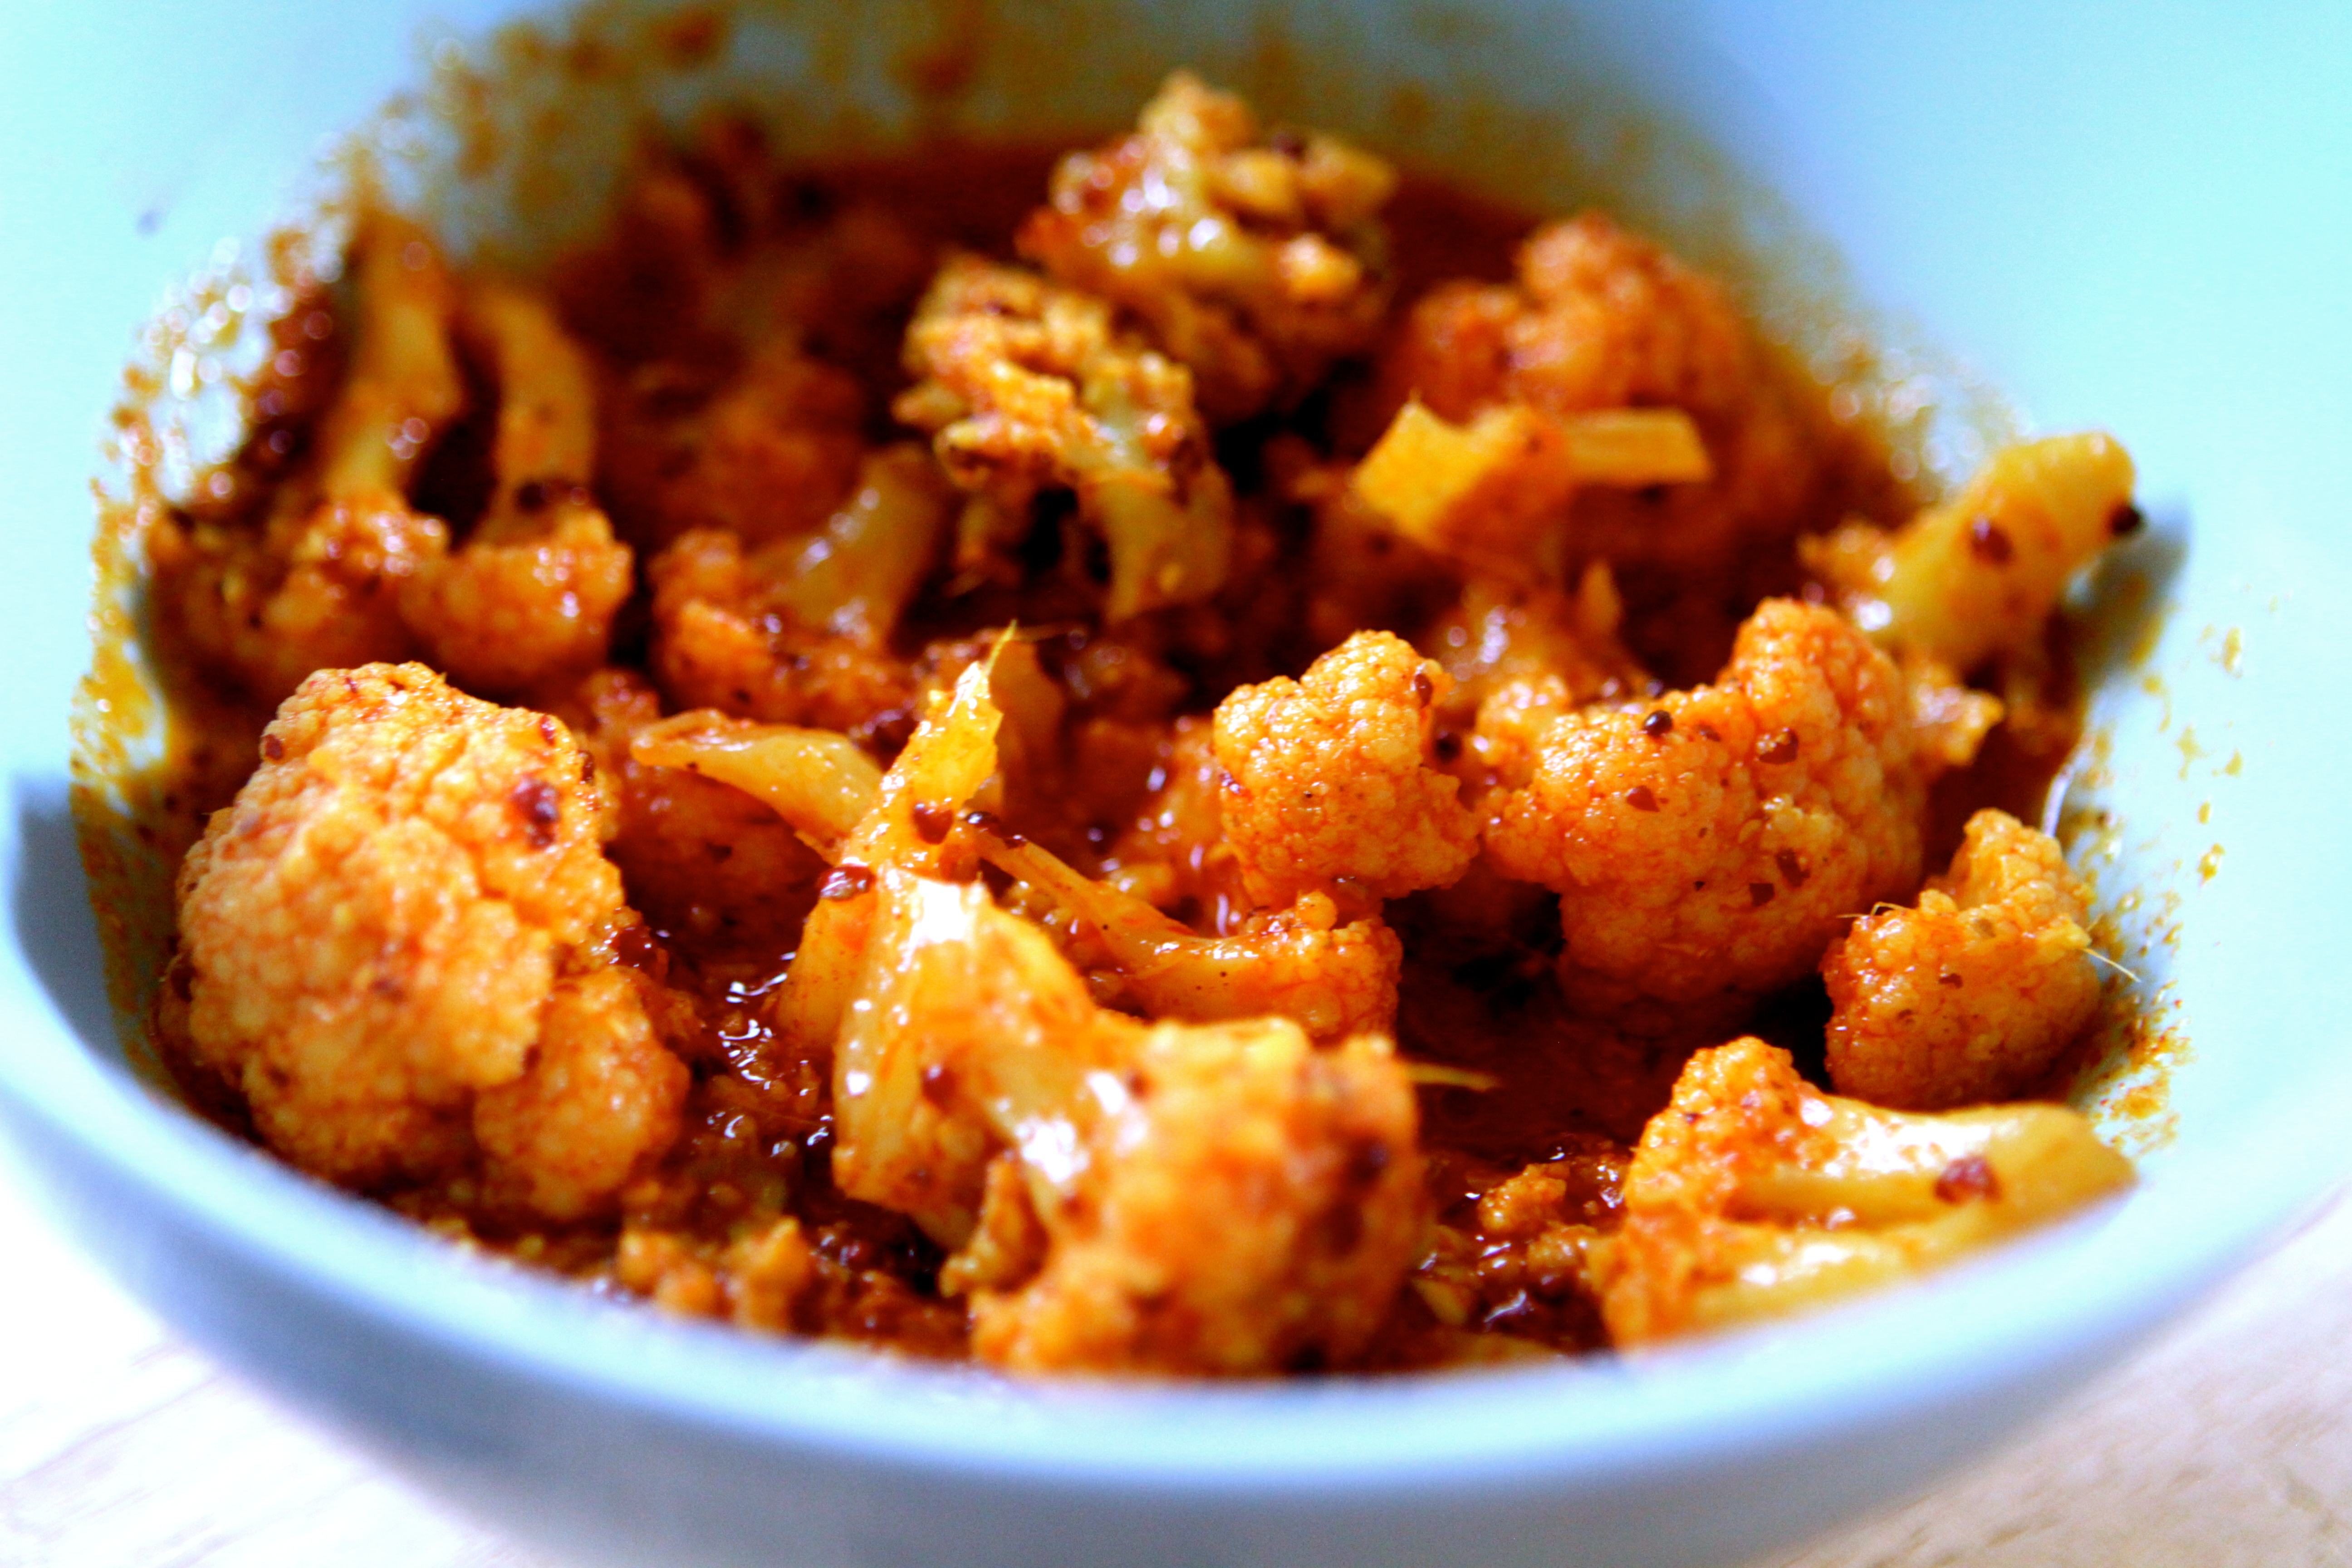
 For the dukkha spice blend:
¼ cup almonds or hazelnuts
2 T coriander seeds
2 T sesame seeds
1 T cumin seeds
1 T mustard seeds
1 t fennel seeds
1 t pink peppercorns
½ t sea salt
Makes about 1 cup
For the dukkha spice blend:
¼ cup almonds or hazelnuts
2 T coriander seeds
2 T sesame seeds
1 T cumin seeds
1 T mustard seeds
1 t fennel seeds
1 t pink peppercorns
½ t sea salt

Makes about 1 cup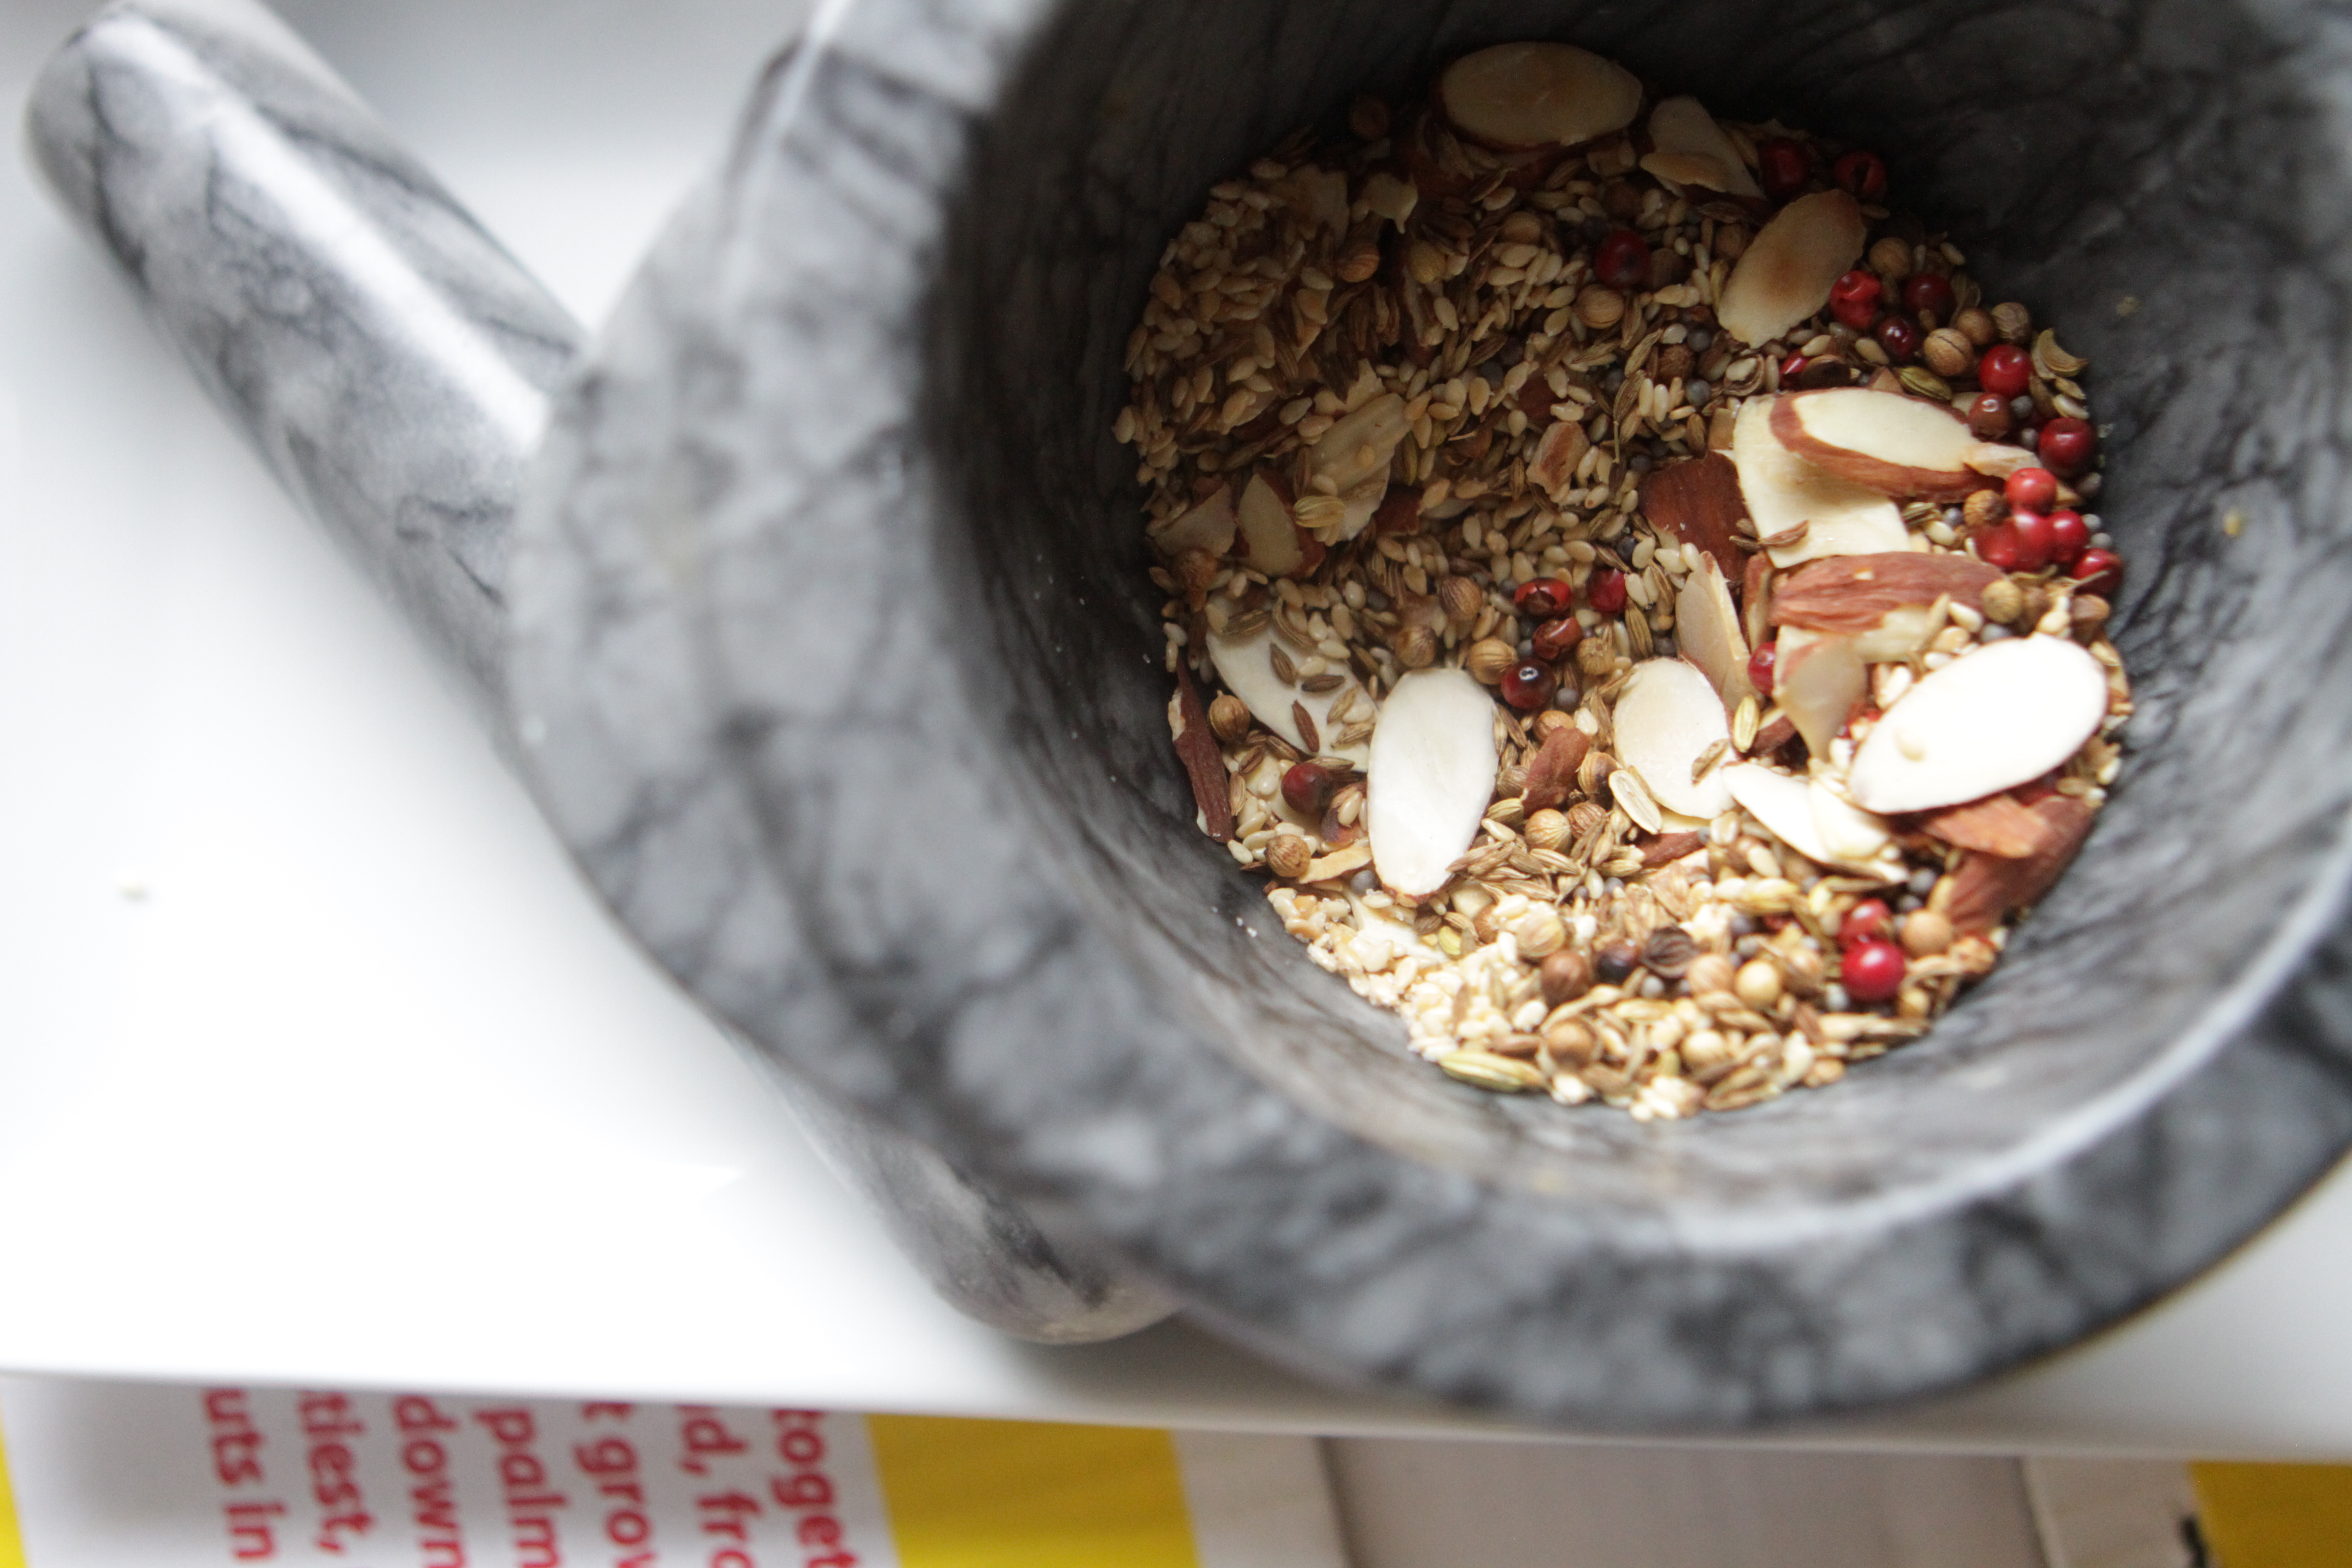


