Almond Flour Trail Mix Scones

IMG_6264

Scones, in their traditional form, are pretty much devoid of nutrients and are high in carbs, making them a less than desirable breakfast option.  They are, however, undeniably delicious and go quite nicely with your morning coffee or tea.  These almond flour scones make for a much more nutritionally dense option that is higher in protein as well as heart-disease fighting plant sterols and Vitamin E.  You can choose any dried fruit and nut combination you like.  Enjoy these with a pat of grass fed butter!

Makes 10 small scones

 2 cups almond flour
1/2 teaspoon baking soda
1/2 teaspoon sea salt
1/4 cup dried apricots, chopped
1/4 cup dried blueberries
1/4 cup sliced almonds
1/4 cup pistachios, chopped
1 large egg
2 Tablespoons honey

Preheat the oven to 350 degrees and line a baking sheet with parchment paper.  In a large bowl, combine almond flour, baking soda and sea salt.  Mix in the dried fruit and nuts.  In a separate bowl, whisk together the egg and honey,  then add the wet ingredients to the dry.  The mixture will seem too dry at first, but just keep stirring until the dough comes together. Form dough into a ball, then shape into a square, about 1/2 inch thick.  Cut into 10 triangles.  Bake 10-12 minutes until golden brown.

Baked Eggs in Tomatoes

IMG_6239

This breakfast recipe is any meal-prepper’s dream.  It’s super simple and delicious and requires only a few ingredients.  The tomatoes provide a good source of the antioxidant lycopene when cooked, while the eggs provide necessary protein, omega 3s and sulfur.  The final product is sturdy and travels well, making it ideal for a breakfast on the go or a quick mid-morning snack.  They are also a fun and easy idea for entertaining and can be made relatively quickly and in large batches for your next big brunch!

4 large tomatoes
8 pasture-raised eggs
sea salt
black pepper
3 T fresh basil or parsley, chopped

Preheat the oven to 400 degrees. Slice the tomatoes in half and carefully scoop out the seeds and center portion. Reserve this part for soups or sauces. In a ramekin, crack the eggs one at a time, then carefully slip into the scooped out part of each tomato. Season with salt and pepper and place on a rimmed baking sheet. Bake for 7-8 minutes or until whites are set and yolks are still slightly runny. Top with fresh herbs.

Indian Cauliflower Pickles

IMG_6124

The other day I was at Pondicheri, one of my favorite Houston spots and was checking out the merchandise in their new(ish) upstairs bake lab.  I spotted a jar of cauliflower pickles out for sample, and tried one…or two.  They were spicy, sweet, tangy and perfectly crunchy, punctuated by black mustard seeds and a variety of Indian spices, some familiar and some not so much.  They were so freaking good.  Instead of buying a jar and calling it a day like any normal person might, I set out on a mission to make my own.  After snapping a shot of the ingredient label, I sent my wonderful boyfriend out to the Indian market to buy the less common ingredients.

These pickles call for mustard oil, which was new to me.  It is hot and obviously very mustardy, so I’d recommend tasting this as you go, adding more or less of the ingredients to your preference.  They also call for jaggery, which is unrefined palm sugar and has a more molasses-like flavor than regular sugar.  You can substitute coconut palm sugar if you can’t find it.  I had some Romanesco cauliflower (that’s the green, alien-like one in the picture) from the farmer’s market so I threw that in as well.

This recipe should make two mason jars full, plus enough liquid to cover all of the pickles, and they should stay good for months in the refrigerator.  If you are a canner, you could certainly seal these in a water bath.  I just know mine aren’t going to last that long!

On a further note, I posted another Indian-inspired condiment recipe on Ali Miller RD, my Crunchy Spiced Chickpeas!  I’ll be blogging for Ali twice a week, so you’ll have double the recipes each week! Check out her Houston based Food As Medicine practice here. 

1 medium head cauliflower, broken into florets
1 cup white vinegar
1 cup jaggery (powdered or grated)
1/4 cup fresh ginger, roughly chopped
1 medium bulb garlic, cloves peeled and roughly chopped
1/2 cup mustard oil
1/2 cup olive oil
4 Tablespoons Indian red chili powder
2 Tablespoons garam masala
1 Tablespoon ground turmeric
1 Tablespoon black mustard seeds
1 Tablespoon sea salt

First, blanch the cauliflower.  Bring eight cups of water to a boil, then blanch 2-3 minutes.  Drain well and spread out on paper towels to dry.

Place the ginger and garlic in a food processor or blender and pulse until a smooth paste is created.  You want to take the stringiness out of the ginger.  Set aside.

Toast the mustard seeds in a small skillet over medium heat until they begin to top.  Be careful, because they like to jump right out of the pan! Transfer to a mortar and pestle and crush roughly, or use the bottom of a glass to crack them.

IMG_6117

Place the jaggery and vinegar in a small saucepan and stir over medium heat until all of the jaggery has dissolved.  Lower the heat and simmer.

In another pan, add the mustard and olive oil and heat until just below smoking. Lower the heat and add in the ginger and garlic paste and cook, stirring intermittently for 5 minutes.  Add all of the rest of the spices and the salt, then add the jaggery and vinegar solution and simmer, stirring, for another 5 minutes.

Allow the mixture to cool about 15 to 20 minutes so it will not cook the cauliflower any further.  Then, in a large bowl, pour the liquid over the cauliflower and mix until all of the pieces are evenly coated.

Spoon into sterilized mason jars and fill up to the top with the sauce, then cover tightly with a lid.  Allow to sit at room temperature for two to three days.  Transfer to the refrigerator and enjoy as a condiment, on salads or straight out of the jar!

IMG_6204

Beet, Jalapeno + Ginger Sauerkraut

I’m a big fan of the Farmhouse Culture Ginger Beet Sauerkraut, and like most store-bought things, I tell myself that “I could SO make this at home” every time I buy it.  So, I did.  I added a little bit of my own flair with garlic and jalapeños, and after a couple weeks on the counter, I’m pretty darn pleased with the result.  I love cultured veggies with just about everything–pop this on top of salads, serve as a side dish or condiment!  The bright purple color from the beets and red cabbage is totally gorgeous, to boot!

Cultured veggies are packed with probiotics to promote a healthy gut, aiding in digestion and immune function! The ginger, garlic and jalapeños add a powerful immune boost as well and aid in circulation.  Lacto-fermentation is an easy way to make your own probiotic superfoods and store foods for an extended period of time!

IMG_6136

1  large head red cabbage, shredded (Reserve 2-3 of the outer leaves)
3 medium beets, peeled and shredded
4 cloves garlic, minced
4 jalapeño peppers, seeded and finely diced
2-3 inches ginger, peeled and finely minced
1 tablespoon unrefined sea salt

Toss together the cabbage, beets, garlic, jalapeños, ginger and sea salt in a large mixing bowl.  Knead the mixture together until juices begin to release, about 5-7 minutes.  You may want to wear gloves for this step! Allow to rest for a few minutes, then knead for another 5-7 minutes.

IMG_6144

Pack the mixture into a liter sized mason jar.  You want the brine (salty liquid) to completely cover all of the vegetables.  Use the reserved cabbage leaves to completely cover the vegetables, taking up any additional space in the jar.  Pack them down tightly and secure with a stone or weight if needed.  Close the lid of the mason jar and leave at room temperature for about 2 weeks.  Taste for sourness, and leave out on the counter until desired taste is achieved, up to another week.  Store in the fridge for up to a year.

Almond Flour Strawberry Shortcake

IMG_6088

I suppose this post might have been most useful pre-Valentine’s Day, but heck, I had leftover strawberries.  This dessert is simple and requires few ingredients, so its a cinch to whip up for a romantic dinner for two, with leftovers of course.  I really love the addition of black pepper, I think it adds a great layer to any strawberry dessert.  You can omit it, of course, if you’re feeling more traditional.

I used a heart cookie cutter to form the almond flour biscuits, but you could choose another shape or do a simple round biscuit by forming it in your hands.

What really makes this dessert is the homemade whipped cream, which is so simple that there’s no reason to every buy the storebought variety again.  You want a heavy whipping cream, full fat. Use a local, organic variety if at all possible. In Houston, I like Mill-King and it is readily available at Whole Foods.

Serves 4-6

For the biscuits:
2  cups almond flour
1/2 cup coconut flour
1/2 teaspoon baking soda
1/4 teaspoon sea salt
1/4 cup melted butter or coconut oil
1 Tablespoon honey
1/2 teaspoon vanilla extract
2 large eggs
For the strawberry topping:
1 large container organic strawberries
1 Tablespoon pure maple syrup
1/2 teaspoon pure vanilla extract
1/4 teaspoon black pepper
For the fresh whipped cream:
1 cup heavy cream, plus 2 Tablespoons
1 Tablespoon honey
1/2 teaspoon vanilla extract

Preheat the oven to 350 degrees.

In a medium bowl mix together the almond flour, coconut flour, baking soda and sea salt. Whisk together the honey and melted butter or coconut oil, then add in the eggs and vanilla until well combined.  Stir the wet mixture into the dry until incorporated.  Shape the dough into a ball and chill for 15 minutes.

In the meantime, make the whipped cream.  Add the first two tablespoons of heavy cream to the bowl of a standing mixer along with the honey and vanilla and blend on high speed.  Add in the remaining cup of cream and continue to mix on high until stiff peaks form.  Place in the refrigerator in a sealed container until ready to use.

When the dough is chilled, take out of the fridge and divide into six parts.  Shape into balls and place each one on a parchment-lined baking sheet, then flatten to about an inch thick.  Or, if you prefer, roll out the dough and cut into desired shapes.  Bake 10-12 minutes until golden.  Allow to cool.

While biscuits are cooling, prepare the strawberry topping.  Stem and slice the strawberries and place in a bowl with the maple syrup, vanilla and black pepper.

Cut the biscuits in half, then layer with the fresh whipped cream and sliced strawberries.  Enjoy!

Beet + White Bean Spread


IMG_6014
I absolutely love the vibrant color of this dip. It makes for a fun, Valentine’s Day themed appetizer and is super simple. Plus, it brings beets to the table in a new way and rounds out their earthy flavor, making them more approachable to beet-lovers and beet-skeptics alike.  You choose the amount of beet that works for you, so if you are still on the skeptic side, start with one and add from there.  
Beets are such a rich source of antioxidants and also contain compounds that help with blood flow and circulation, making them heart healthy and a very sexy food at the same time, perfect for your Valentine’s Day meal!

Serves 4-6

1-2 medium beets, cooked and peeled
2 cups cannellini beans, rinsed and drained
3 Tablespoons tahini
1 clove garlic, peeled
juice of 1/2 a lemon
1/2 teaspoon sea salt
2-3 sprigs fresh thyme, leaves removed and chopped
2-4 T olive oil

First, roast the beets wrapped in foil at 375 for 30 minutes or until soft.  Allow to cool, then peel with a vegetable peeler or paring knife and chop into quarters.

Place the beets in your food processor or blender along with the beans, tahini, garlic, lemon juice, sea salt and chopped thyme leaves.  Blend until smooth and incorporated, then slowly stream in the olive oil and continue to blend until a silky texture is reached.  Adjust seasonings as needed and serve with vegetable dippers or these Brown Rice + Herb Crackers.

Spiced Chocolate Avocado Mousse with Pomegranate and Cacao Nibs

IMG_6003

This past week I assisted my dear friend Ali Miller of Naturally Nourished with a Food-As-Medicine cooking class on Aphrodisiac Foods and Chocolate Avocado Mousse was on the menu.  Check out her version, a list of upcoming cooking classes, and her awesome practice, here.

If you’ve never had chocolate avocado mousse, or if you think it sounds weird, you absolutely must try it.  You also might have been living under a rock for the past couple years, because this is definitely a thing.  We served an early version on my menu at Roots Juice and I’ve tried a million different variations since then, all of them delightful.  And for Valentine’s Day, I quite frankly cannot think of anything sexier than creamy avocados, rich chocolate, spicy cayenne and tart pomegranate seeds!

Chocolate goes well with pretty much everything, avocados included.  Their creaminess lends an incredibly creamy mousse texture without any dairy added. This is the perfect recipe when you’ve got very ripe to overripe avocados, as the chocolate will camouflage any brown spots.  Do yourself a favor and use raw cacao powder in this recipe if you can, not cocoa powder, as it has a higher antioxidant load and is less processed .

I love a subtle spiciness with my chocolate, and the cayenne really revs up this dessert (as well as its eater).  You can certainly experiment with other spice combinations as well.

Serves 4
2 avocados, halved and pitted
1/3 cup raw cacao powder 
1/4 cup maple syrup or honey
1 tablespoon vanilla extract
pinch cinnamon
pinch cardamom
pinch cayenne
pinch sea salt
1/4 cup coconut milk or almond milk, as needed
pomegranate seeds and cacao nibs to garnish

Puree the avocado until smooth in a blender or food processor.

Add the cacao powder, sweetener of choice, vanilla and spices.  Blend until silky smooth, adding the milk one tablespoon at a time as needed.  Taste and adjust sweetness and spices.  Serve with pomegranate seeds and cacao nibs.

Moqueca (or Brazilian Fish Stew)

IMG_5951

IMG_5962

IMG_5984

We recently got back from a three week trip to Brazil for Christmas and New Year’s.  When I say recently, it was actually a full month ago today.  My tan lines are long gone, bathing suits are stowed for warmer days (especially the thong one I bought…just for Brazil!), and I’m back in my winter hibernation mode, big sweaters and leggings all day every day.  When I say Brazil I mostly mean Rio de Janeiro and a couple of neighboring spots because Brazil is like, huge.

Anyway, one of the things I was most excited about, which is always the case when I travel, was the food.  Sadly, my experience of Brazil was mostly a miss when it came to food, and especially nutrition.  It was potatoes next to rice next to beans next to a piece of overcooked and under-seasoned meat. Carbs, carbs and more carbs.  I almost peed myself when I found kale on a menu.  Now, I’m not saying all Brazilian food is bad, and it certainly could have been a combination of our terrible Portuguese and picking the wrong restaurants, I just was really happy to get back to my own kitchen.  Hence the inundation of blog posts.

Did I mention that I accidentally ordered raw meat for dinner one night, and lacking the vocabulary to send it back, endured a 30 minute staring contest with a pile of bloody ground beef?  Or the time I was forcibly dragged into a churrascaria and then inundated with a rotation of meat I didn’t really want, followed by more meat really I didn’t want.  Brazil is no place for a recovering vegan, or a health-conscious person of any nature, and by the end of the trip it had me swearing up and down that I’d never eat meat again once I touched American soil.  I quickly gave that up in the comfort of my own kitchen, but I certainly won’t be running around Houston to track down any Brazilian restaurants anytime soon.

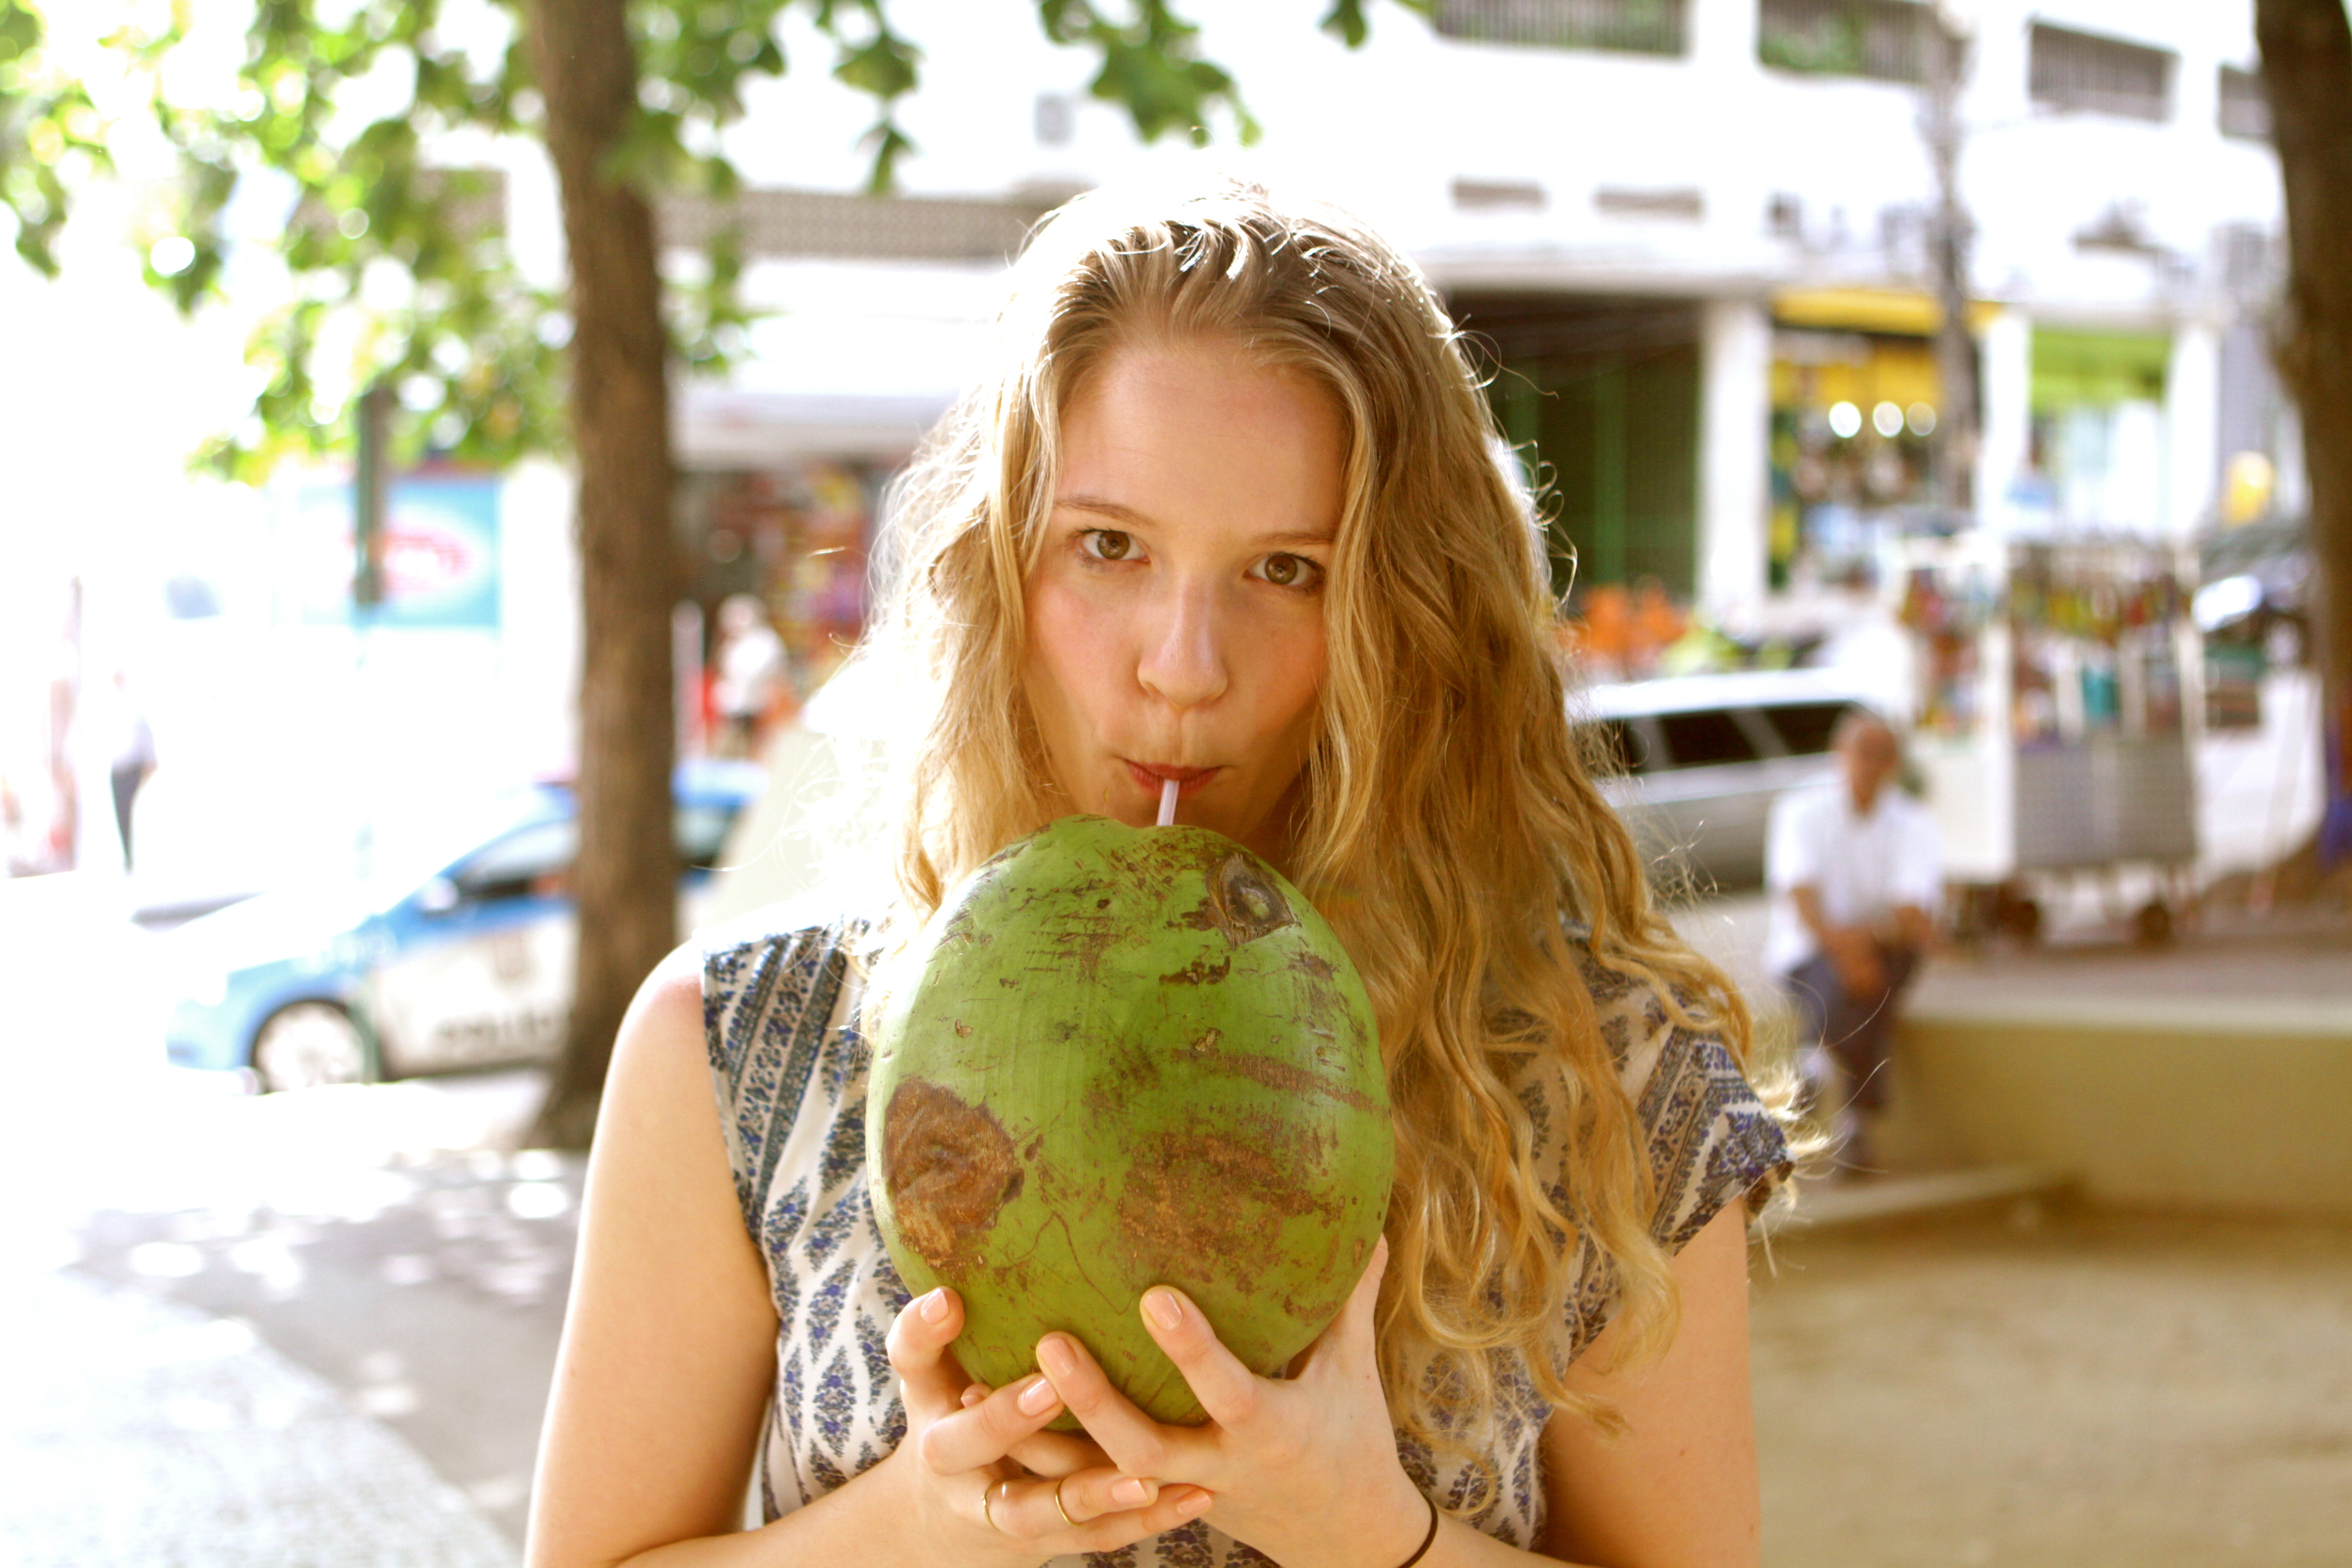
The trip in all was amazing, and there were definitely some food highlights. Among them, tapioca flour fried into the most amazing chips, fresh papaya, passion fruit caipirinhas, fresh coconuts and acai bowls on every street corner. And then there was this dish called Moqueca, which quickly became my go-to at any restaurant that served good fish.  I was not about to risk another raw meat ordeal.  It was served bubbling hot in these giant bowls that no one human could finish on their own, it was even a stretch for two people.  Moqueca is a coconut milk based stew, with white fish, tomatoes, onions and an array of other vegetable players.  I also had it once or twice with, get this…banana.  They put it in EVERYTHING.  I tried banana on pizza once, which actually was kind of great.   This recipe represents a loose translation of the dish.  Like I said, my Portuguese is horrible and I could have totally missed an ingredient or two…so if you’re Brazilian please don’t be offended.  Also if you’re Brazilian, please tell me how your country is not full of overweight diabetic people considering that your diet is carbs on carbs on carbs.

Oh yeah, the recipe.  It is best to marinate your fish a few hours ahead, so plan accordingly.  If you don’t plan accordingly, all is not lost, I promise.  Just marinate while you chop up the other ingredients.   Choose a firm, white fish like halibut, sea bass or snapper.  I used redfish and it worked quite nicely.  This dish goes well with, dare I say it, rice.   Please use brown rice or even quinoa, for my sake.

Serves 4-6

1/3 cup fresh lime juice
1 small yellow onion, diced
4 cloves garlic, minced
1 inch fresh ginger, minced
4 green onions, chopped
1 bunch fresh cilantro, stems removed, chopped
1/2 teaspoon sea salt
1/4 teaspoon black pepper
1 1/2  pounds white fish, cut into bite sized cubes
2 Tablespoons of coconut oil
1 red bell pepper, chopped very finely
1 yellow or orange bell pepper, chopped very finely
1 bay leaf
3-4 tomatoes, diced
2 Tablespoons tomato paste
2-3 cups vegetable broth or chicken bone broth (fish stock would be great here)
1 can coconut milk
4 Tablespoons fish sauce
1/2 cup hearts of palm, sliced
pinch cayenne
more cilantro, green onions and lime wedges for serving

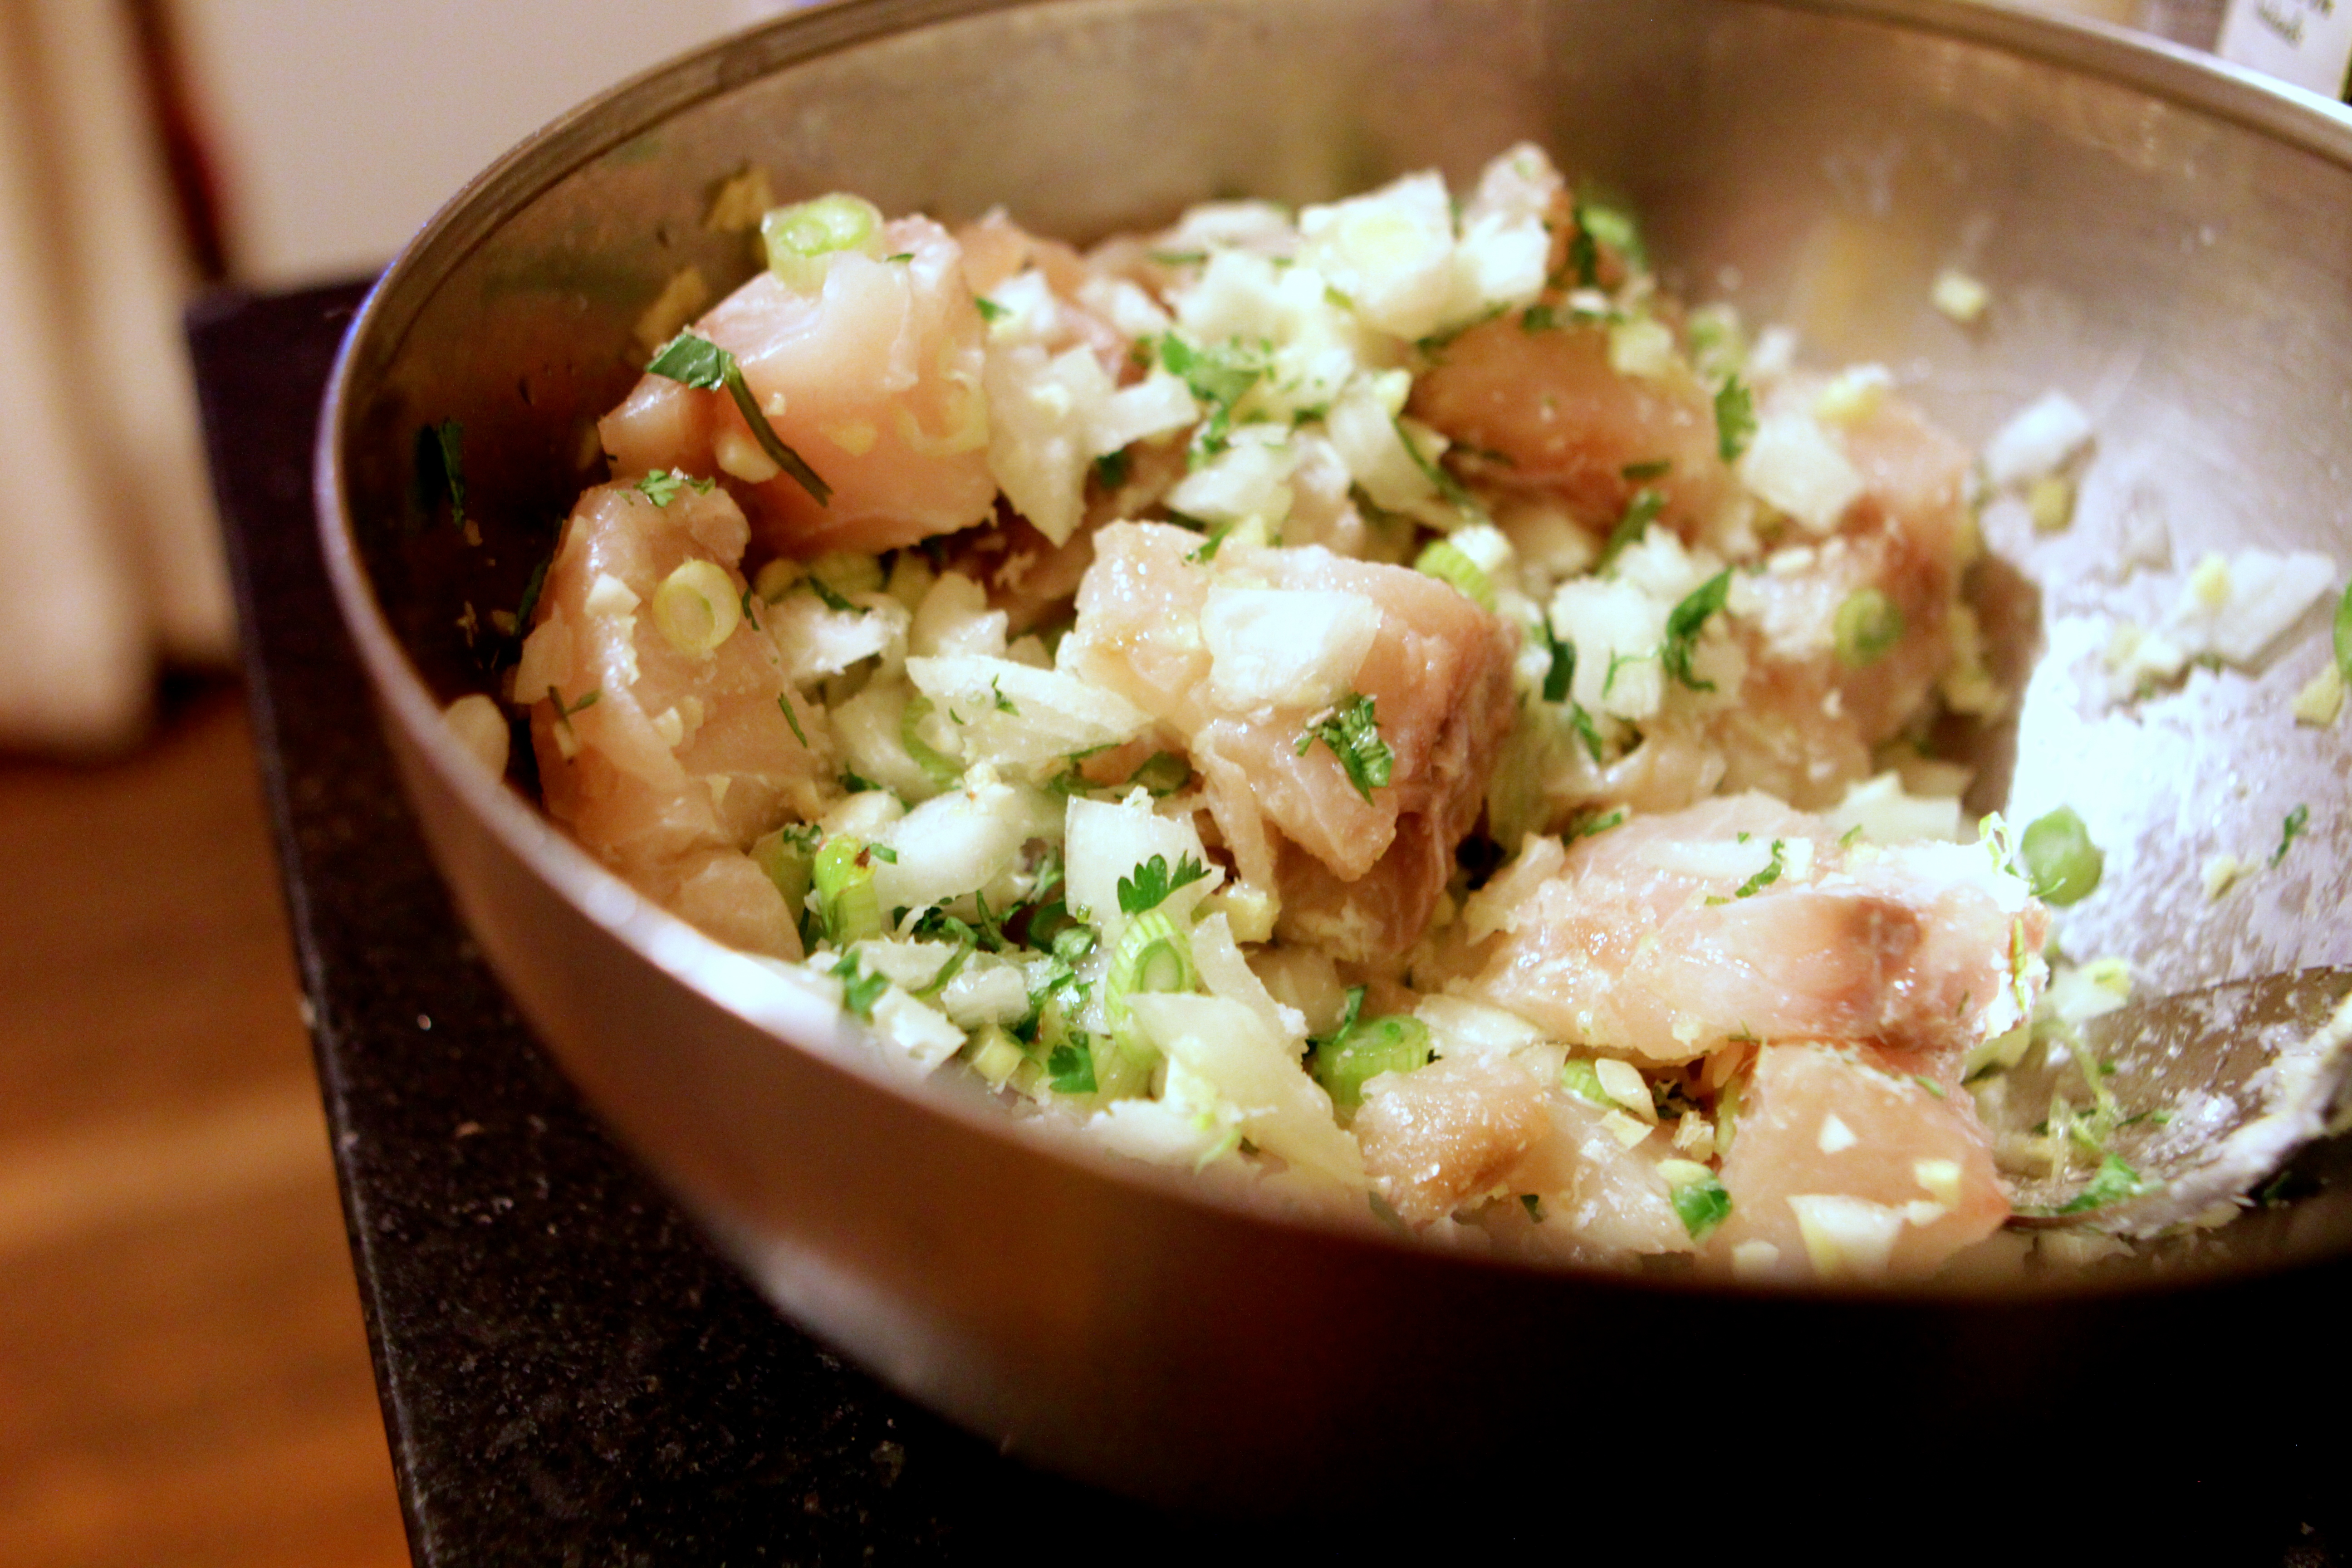
First, marinate the fish in the lime juice, half the yellow onion, half the green onion, half the ginger, half the garlic, half the cilantro, a tablespoon of coconut oil and a pinch each of salt and pepper.  Set aside for 3-4 hours.

Heat a stock pot or dutch oven over medium and add the other tablespoon of coconut oil.  Add the onions and sauté until translucent.  Add the bell pepper, ginger, garlic and green onions until softened, then add the bay leaf and remaining cilantro.   Pour in the stock and bring to a boil.

Once boiling, add the tomato paste, coconut milk and fish sauce and return to a boil. Next add the diced tomatoes, hearts of palm and the marinating fish, as well as all of the marinade.  Lower the heat and cook, covered, 8-10 minutes or until fish is cooked through.  Remove the bay leaf and season to taste with cayenne, salt and pepper.  Serve with cilantro, green onions and a lime wedge.  IMG_5136